With the events module, you can easily create events, collect registrations, and manage payments.
1. Activating the module
Before you can get started, the module must be activated.
You can request this from our support team via this form: https://unipagesupport.zendesk.com/hc/nl/requests/new
You can request this from our support team via this form: https://unipagesupport.zendesk.com/hc/nl/requests/new
2. Creating a new event
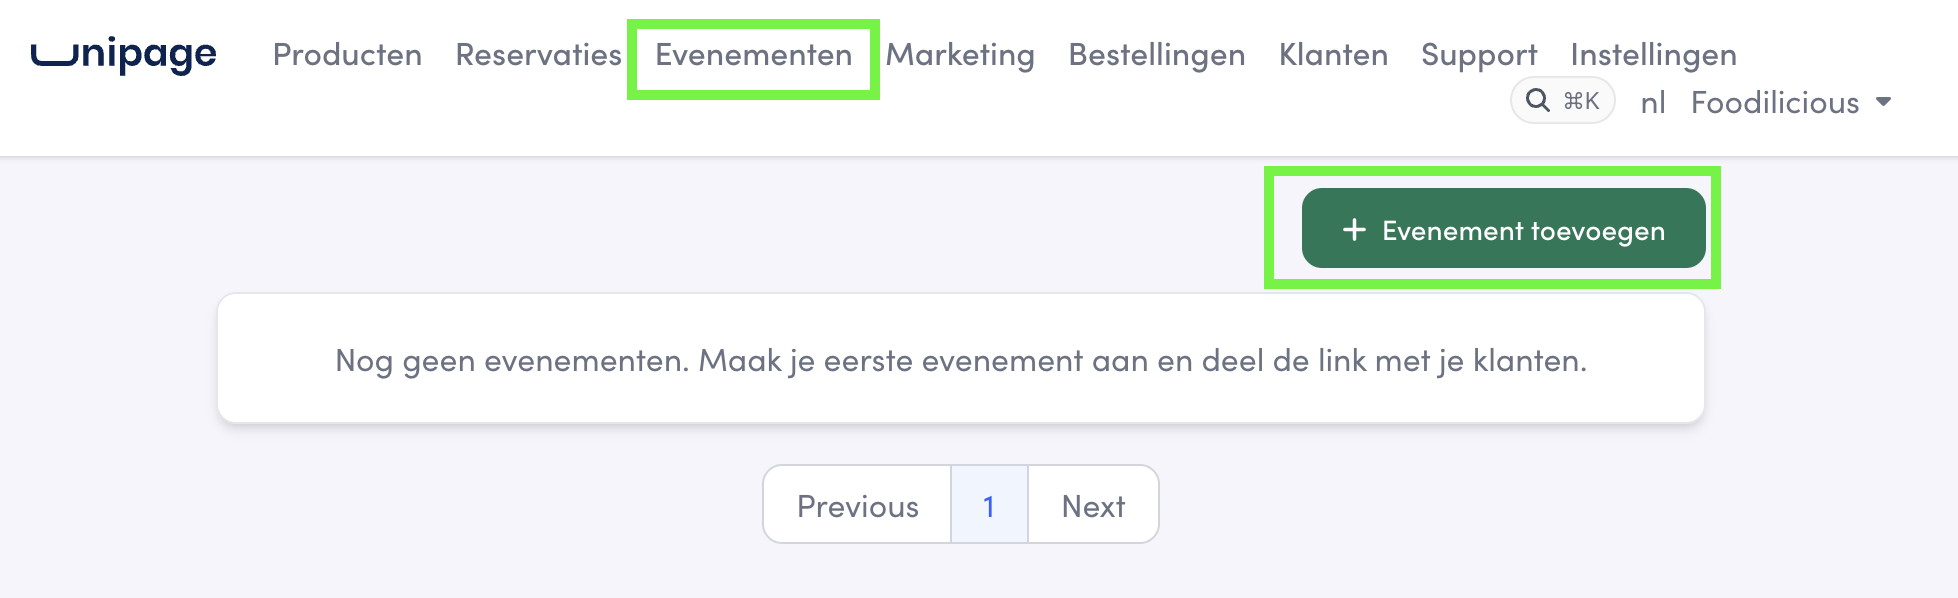
Click on the 'Events' tab at the top of the management page and choose 'Add Event' to set up a new event.
You can fill in the following details:
- Title and description: For example, the name of the event and the location.
- Date and time: When the event takes place.
- Deadline: Specify the latest date by which people can register.
- Price: Set the price per person.
-
Capacity: Indicate whether there is an unlimited number of places or set a limit. You can also determine the maximum number of people per registration
3. Adding a questionnaire (optional)
- For example, create a dropdown list for meal preferences (e.g. "Vegetarian" or "Non-vegetarian meal").
- Visitors fill in these fields during registration. You can choose to make the field mandatory.
If you want to adjust the event afterwards, this is possible by clicking on the title of the event.
4. Publication and registration
Once the event is created, return to the overview.
Your event will receive a public URL page. You can share this page via your network to promote your event.
You can open this URL by opening the page.
Your event will receive a public URL page. You can share this page via your network to promote your event.
You can open this URL by opening the page.
You can see the following:
- Overview: Visitors see all details here: date, location, price, deadline and the description.
- Register: Customers enter their email address, choose the number of people, and answer any additional questions.
- Payment: The module links directly to the configured payment method. After payment, the customer immediately receives confirmation of the registration.
5. Management and export
In the management environment, you retain full oversight:
- View registrations: Click on a specific event to see the list of participants. Here you can see the payment status (e.g. 'paid') and the registration status ('confirmed').
- View answers: All answers to the questionnaires are visible here per participant.
- Export: You can export the full list of registrations, including all completed fields, to Excel for further processing
Comments
0 comments
Article is closed for comments.